It's easy to mix succulents in an array of types and colors to craft an eye-pleasing tableau of textures and hues. These DIY wreaths made from succulent plants require little water and are a great way to decorate your outdoor spaces. Our step-by-step instructions will help you create your own beautiful succulent accent piece to add to your front door.
DIY Succulent Wreath
Supplies Needed
- Succulent cuttings
- Scissors or shears
- Mesh-covered moss wreath form
- Pointed object (scissors, pencil, or screwdriver)
- Craft clips or floral pins
- Galvanized hardware
Step 1: Pick the Right Plants
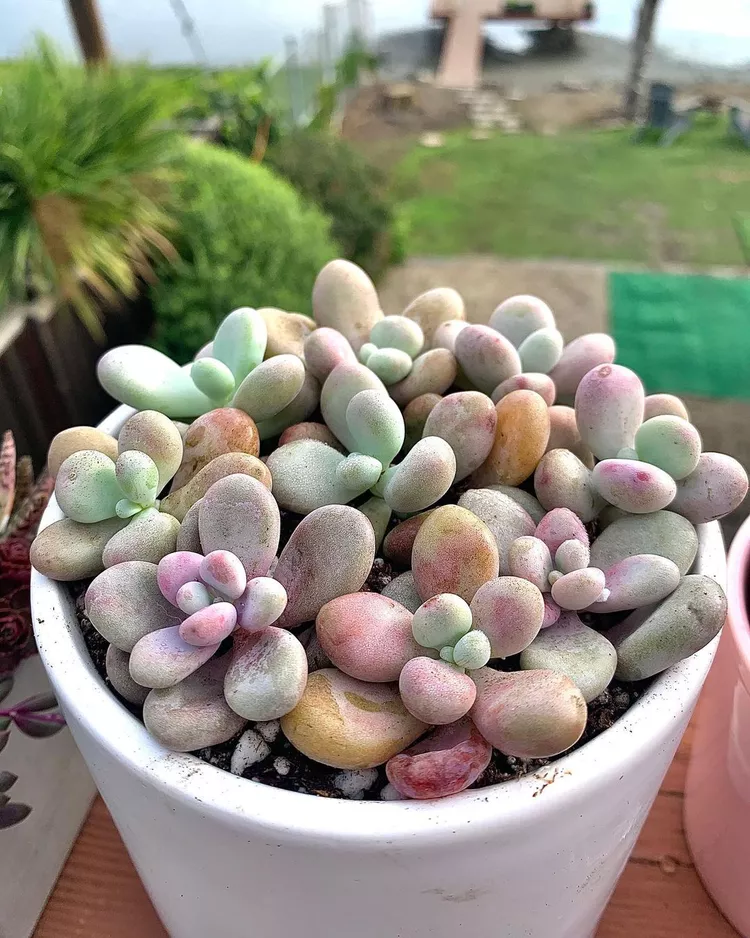
Succulents are ideal for wreaths because they grow slowly. Top picks include sedum, Aeonium, Echeveria, Kalanchoe, mother of pearl plant, and jade plant.
Step 2: Cut Stems
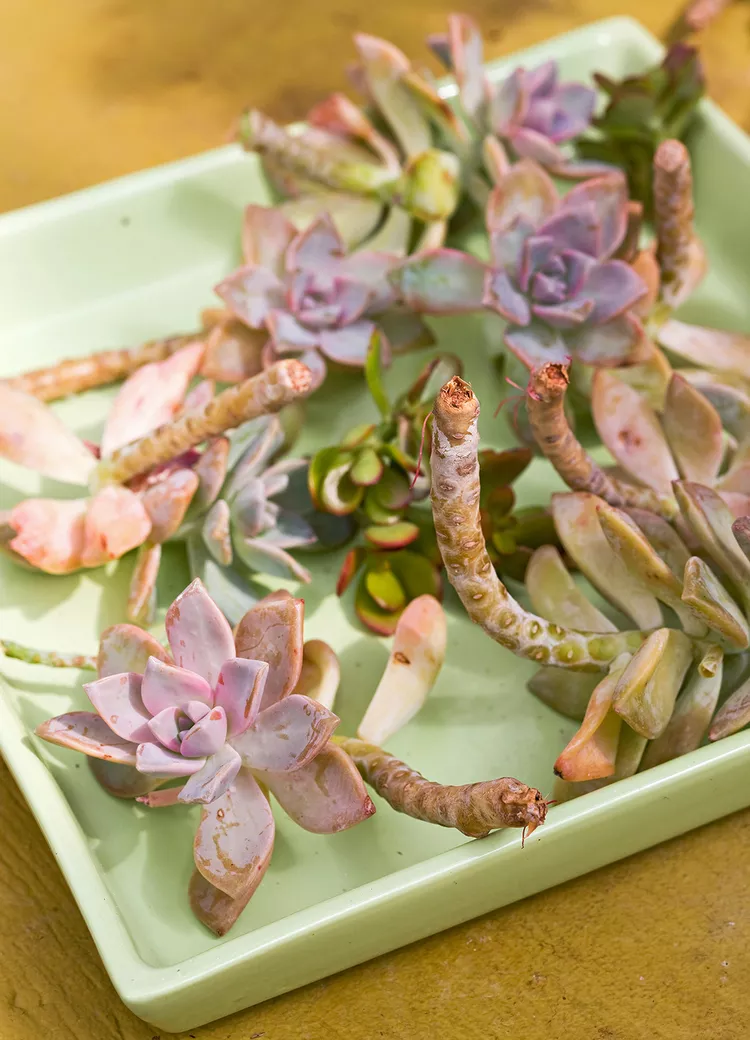
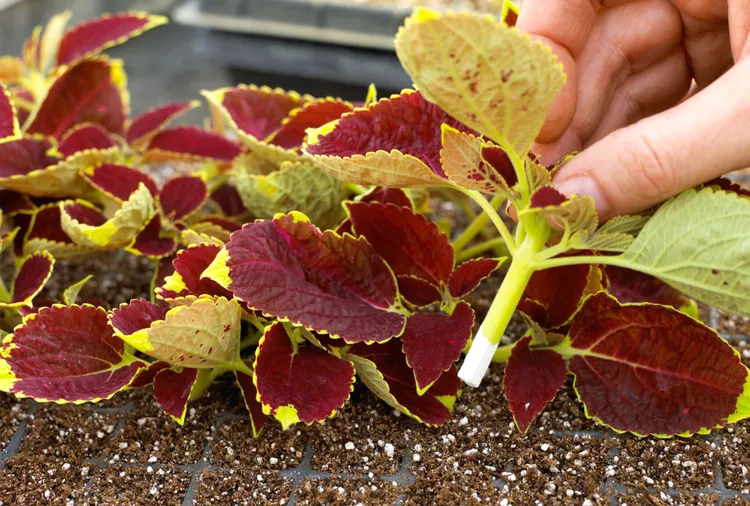
Take succulent cuttings a day or two prior to creating your succulent wreath. Cut stem sections 1 to 2 inches long, removing lower leaves as you would when propagating succulents. Allow cuttings to sit overnight on a tray to let the cut ends callus (form a thin layer of cells).
Step 3: Soak the Form
Submerge a mesh-covered moss wreath form in water. Allow the form to sit in water until it's fully saturated. If you're filling your own wreath form with sphagnum peat moss, soak moss and wring it out before filling the form. This will help the succulent cuttings thrive once in the wreath. Wear gloves when working with loose peat moss.
Buy It: Sphagnum Moss Living Wreath Round ($17, Amazon)
Step 4: Arrange Your Plants
On a flat surface, lay out cuttings in the arrangement you want on your wreath. Aim for density. To create a spot for planting each stem, make a hole in the moss using a pointed object, such as a pair of scissors, a pencil, or a screwdriver.
Editor's Tip: You can also follow these steps to make a succulent bouquet, succulent arrangements, or succulent centerpieces.
Step 5: Insert the Cuttings
Place a succulent cutting into each hole. It's not necessary to dip cuttings in rooting hormone—succulents root easily when the moss is kept moist. After planting, you'll see some moss between cuttings; as succulents grow, they'll hide the moss.
Step 6: Secure with Pins
Insert pins, such as crafts clips or floral pins (available from a florist), to hold cuttings in place. This is especially important for succulent wreaths that will hang. Cuttings will root along their stems, but until they do, the pins will keep them secure.
Editor's Tip: After planting, keep the wreath out of direct sunlight for a week. Gradually increase light levels to full exposure. In the hottest Zones, protect plants from midday sun. Indoors, set your succulent wreath in a south-facing window, greenhouse, or garden room.
Step 7: Add the Finishing Touches
Hang your wreath using galvanized hardware to prevent rust. If you'll be displaying your wreath on a wooden surface, such as a door, consider covering the back of the wreath with plastic attached with crafts pins to protect the wood from moisture.
Editor's Tip: Water your succulent wreath when it feels dry—every three to 10 weeks, depending on temperature and lighting. Soak the wreath in a container of water for at least one hour. Avoid misting or surface-spraying your wreath; this encourages shallow rooting, which weakens plants. You've got your own hanging succulent garden!
